I know that most of your aren’t craft bloggers, but hopefully you can relate to those times when your work just feels inescapably like work. And while my job is fun, sometimes, I complete craft projects out of a need to get them on the site and not just for the joy of making. But this project was seriously the most fun I’ve had crafting in a long time! It was the perfect mix of creativity, manageable size and ease. So if you’d like to make a Day of the Dead Skull Banner / Garland (aka Dia De Lost Muertos Sugar Skull Banner but also suitable for Halloween) here’s how I did it! It was so fun and easy!
Day of the Dead Skull Banner
Precut skull shapes (either separate or as part of a banner kid, I grabbed mine in the Halloween section of the craft store)
Spray primer and/or white spray paint
Black paint pen
String or twine
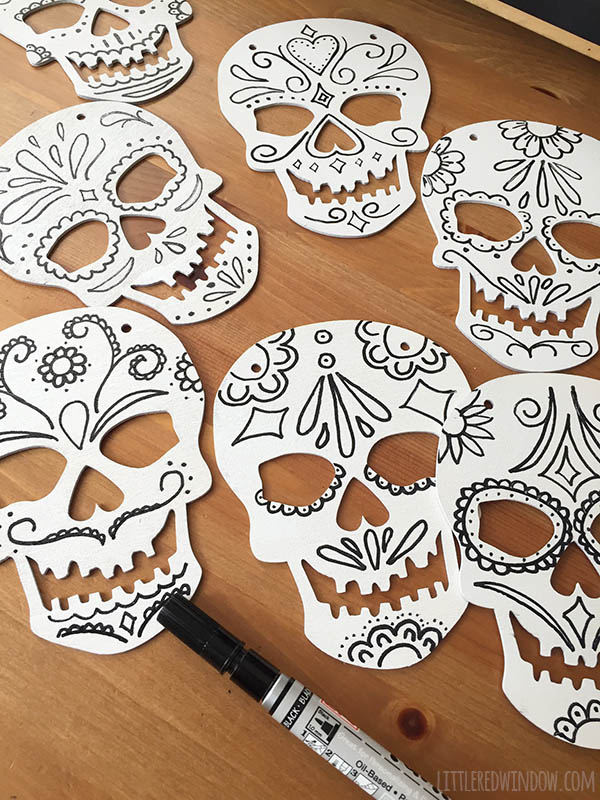
1.Did I ever tell you about when we used to live inside the city of Chicago where spray paint is not allowed? It was a crafter’s nightmare. I would have had to paint all these skulls by hand (I did that one year with a gazillion little wood snowflakes…) . Anyway, start by spray painting your skull shapes white. I like to use primer on the laser cut wood shapes because sometimes the burnt wood edge color can bleed through regular paint.
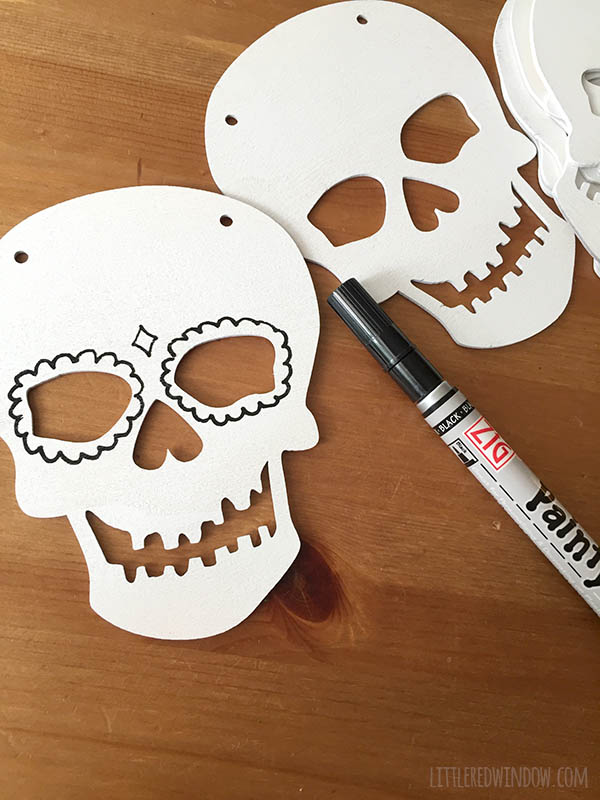
2.When they’re dry, go to town with your black paint pen turning them into Day of the Dead sugar skulls. I got inspiration by doing google images searches for “dia de los muertes skulls”, “sugar skulls”, and “day of the dead skulls” but I didn’t copy any that I found, I looked at them for ideas for motifs and types of designs traditionally used but I made each skull my own and each one is different and unique. That’s what was so fun about this project!
Some traditional Day of the Dead skulls are just black and white and some have bright colors added. I like the black and white version but you can definitely add colors to yours if you want.
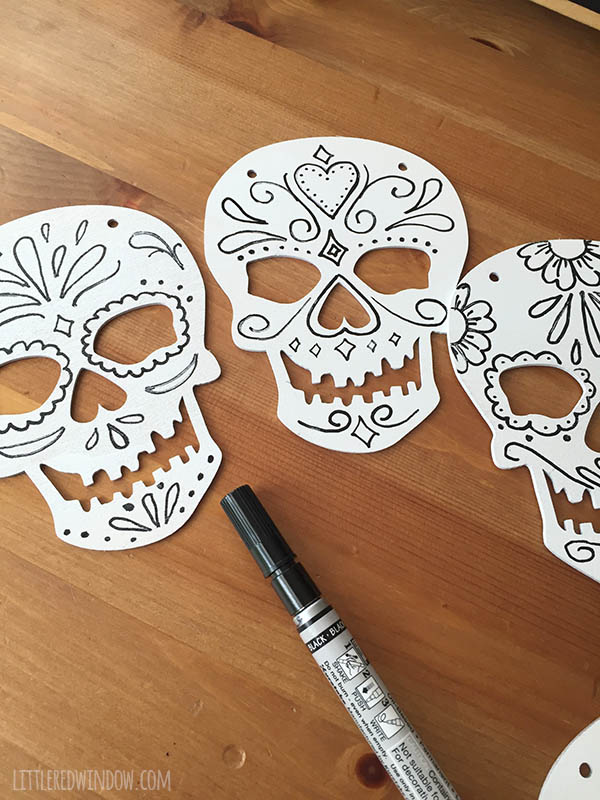
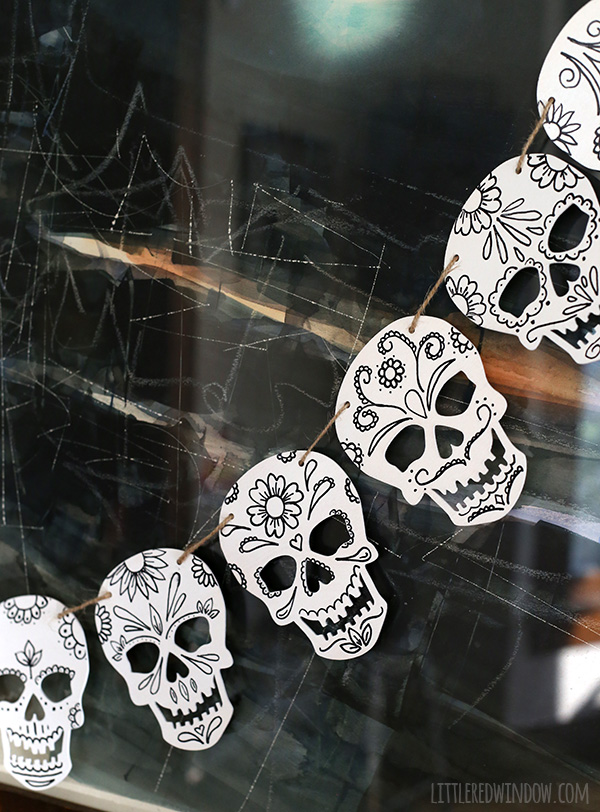
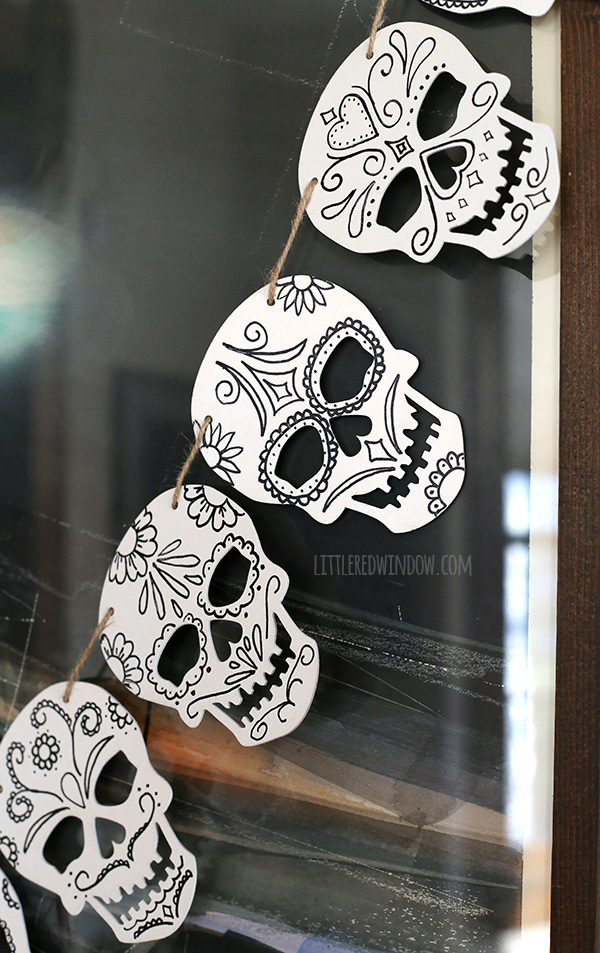
3. When the paint pen is dry string your skulls on the twine and hang them up (if you’re didn’t come with holes, either drill some small ones or use hot glue to glue them to the twine).
