Supplies:
(Jen Hadfield Home + Made Cottage Living Collection)
12×12 Paper Pack
Paper Flowers
Gold Metal Clips
Gold Metal Labels
(Misc Supplies)
3-D Letter Template for cutting machine
glass vases
Plain White Cardstock
Transparent Tape
Twine
Aleene’s Tacky Glue
Glue Dots
Directions:
Choose the papers you’d like to use for your project. I struggle with pattern matching – it is definitely not something that comes naturally to me – but luckily this Cottage Living Collection has a cool feature on the bottom of each piece of cardstock – a coordinating pattern is printed on each page. How cool is that? It made it super easy to choose my patterns and papers.
.jpg)
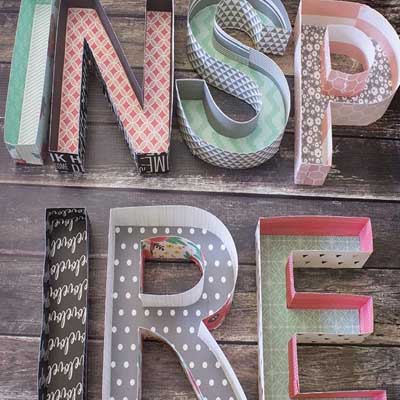
Use your cutting machine to size and cut the letters that you’d like to use.
.jpg)
The template I have is for enclosed 3-d letters, so I ended up with extra tabs – I just cut them off before gluing.
.jpg)

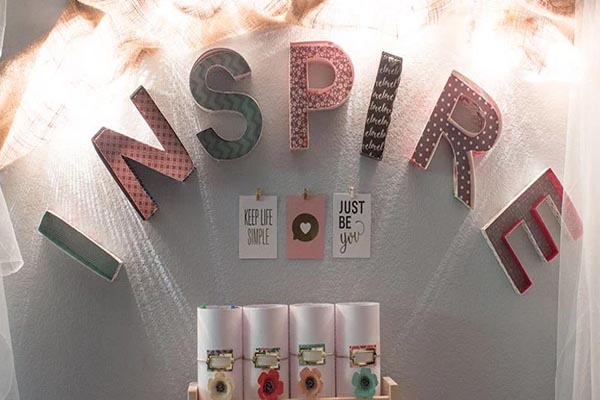
Simply wrap a piece of standard 8.5 x 11 white cardstock around the vase, tape it together in the back, and trim the excess from the top. After the vases are covered, use a glue dot to affix the paper inserts from the gold metal labels to the leftover scraps from cutting your letters out. Contour the metal label to the vase by simply press it firmly against the side. Use a length of twine or hemp rope to affix the metal labels to the vases. Place a piece of tape in the back to hold the twine in place. Place a self-adhesive paper flower on the front, and you’re done!
.jpg)


-400x400w.jpg)
